In order for Free Shipping Label plugin to work properly, WooCommerce must be set up correctly.
Most likely, these settings are already configured, but it’s best to check them to avoid issues.
1. Shipping Zones
First, you must set up Shipping Zones. We’ll not cover every step in this guide, but you can find in-depth information in WooCommerce documentation.
2. Free Shipping Settings
If you’re using a third-party shipping plugin to define free shipping, you can skip this step and instead set a Custom Threshold in the General Settings section (explained later).
Free Shipping Setup
A free shipping method must be enabled in your shipping zone for the plugin to work.
Free Shipping Requirements
You can choose from multiple options:
- A minimum order amount ✅ (Fully compatible)
- A minimum order amount OR a coupon ✅ (Fully compatible)
- A minimum order amount AND a coupon ⚠️ (Works, but you must notify customers about the required coupon.)
Minimum Order Amount
This is your free shipping threshold. The Progress Bar updates based on the difference between the cart value and the threshold.
Here is more info on how to set up free shipping in WooCommerce.

3. Shipping Options
Go to WooCommerce → Settings → Shipping → Shipping options, and under Calculations make sure “Hide shipping costs until an address is entered” is NOT checked.
This is to ensure that the threshold works properly.

4. Default Customer Location
In WooCommerce → Settings, you can set the Default Customer Location. This defines the customer’s initial location before they enter an address, helping to pre-fill details and ensure accurate tax/shipping calculations.
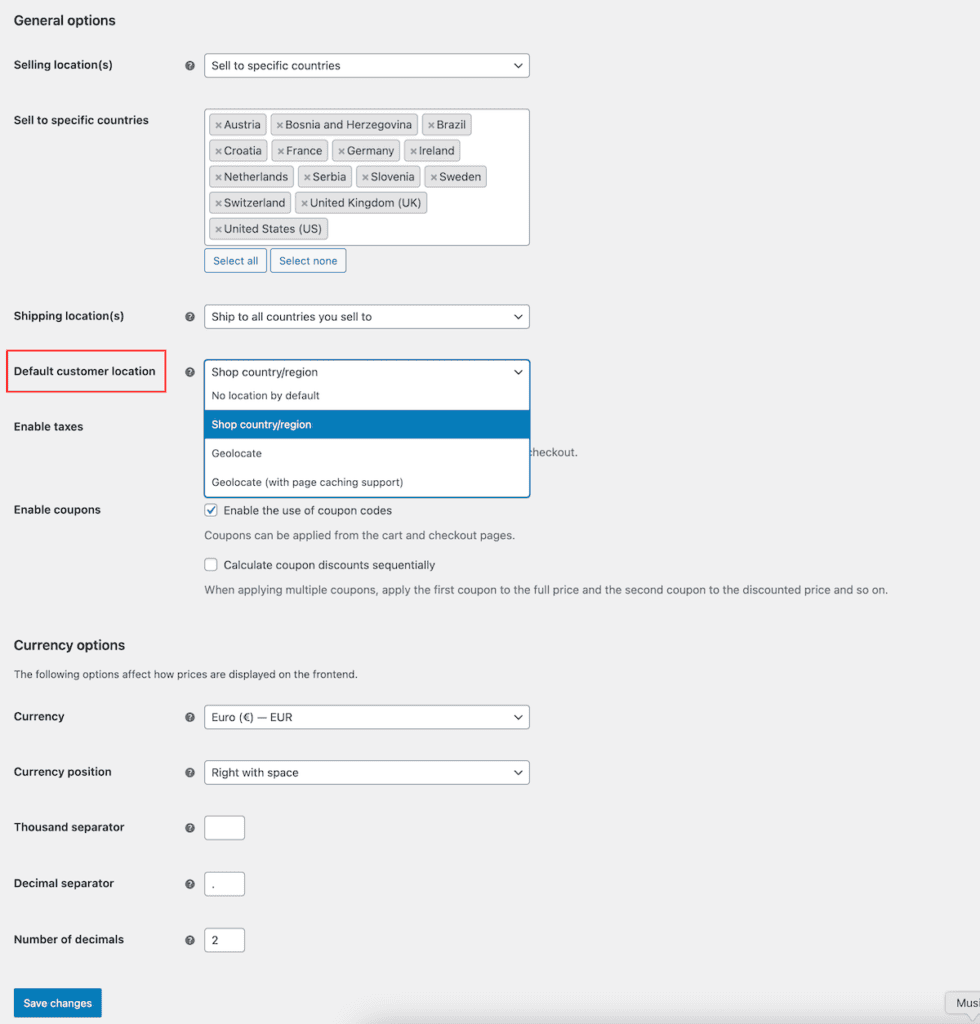
Note: If set to Geolocate, the progress bar might not appear for customers from a geozone where free shipping is not defined.
We recommend setting this to Shop country/region if you offer free shipping for that zone. Alternatively, you can choose No location by default, but in that case, be sure to set the Initial Zone inside the General settings of our plugin.